
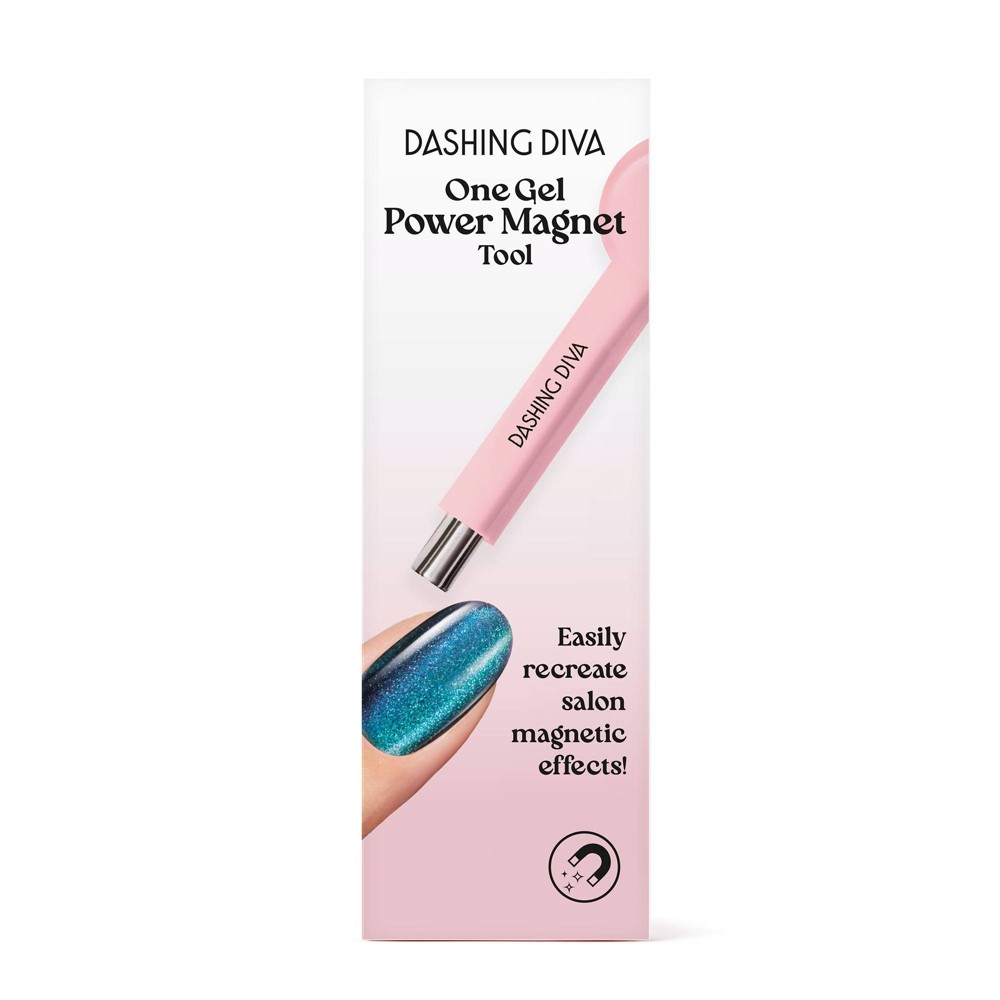
Dashing Diva One Gel Power Magnet Nail Art Tool
 |
Buy Dashing Diva One Gel Power Magnet Nail Art Tool
When you make a purchase through links on our site, we may receive a affiliate commission.
Dashing Diva One Gel Power Magnet Nail Art Tool | $6.99 |  | |||
Introducing the One Gel Power Magnet Tool. Use on any One Gel Magnetic polish or topper to activate the magnetic powders and create a multidimensional mani right before your eyes! Includes: 1 Power Magnet Tool HOW TO USE: STEP 1: PREP Clean nails with soap and water. Trim or file nails (white side of included nail file) to desired length and shape. Push back cuticles using the included manicure stick. Lightly buff nail beds using the enclosed white mini buffer to remove natural shine and create subtle texture. Remove any oils/residue from nails using the included prep pad. STEP 2: APPLY AND CURE Shake well to mix up magnetic particles; due to weight of the particles, settling may occur. Apply one thin coat of One Gel Magnetic polish or topper to one nail.* *Complete steps 3 & 4 before moving on to the next nail. PRO TIP: Ensuring a thin layer is crucial for a smooth, even, long-lasting cure. STEP 3: ADD MAGNETIC EFFECTS Before curing, use the One Gel Magnet to activate magnetic particles, creating a magnetic effect. HOW TO USE MAGNETIC TOOL Using a vertical motion, hover the flat side of the magnet about 1 inch away from your nail, slightly moving side to side along either the left or right side of your nail bed. Once desired effect is created, repeat on the other side of the nail bed. To finish, hover the magnet at the free edge of your nail bed, completing a classic velvet effect.* *If desired outcome is not achieved or a mistake is made, run the brush over current layer of gel to reset magnetic particles. Make sure the brush does not have any extra polish before doing so. **Overuse of magnet will lead to shimmer becoming dull. If this happens, run the brush over the current layer of gel to reset as stated above. STEP 4: CURE & FINISH Once desired magnetic effect is achieved, press button on the back of lamp to activate LED light. Cure for 60 seconds*, making sure not to surpass the red laser guide. Lamp will automatically turn off after 60 seconds. *Be sure to cure each nail after activating the magnetic effect; failure to individually cure may cause the effect pattern to shift. OPTIONAL STEP: Apply & cure Dashing Diva One Gel Top Coat for extended wear & shine. PRO TIP: Curing results may vary if an LED lamp from another brand is used. To learn how to achieve different magnetic effects, check out our tips & how-to videos via @dashingdiva_usa on Instagram and TikTok or at dashingdiva.com. REMOVAL STEP 1: ASSEMBLE PUSHER Take the two halves of the cuticle pusher and twist them together until secure. STEP 2: APPLY REMOVER Apply a thick layer of Magic Off on remaining gel polish, avoiding contact with skin.* Let product sit until gel polish starts to bubble into pieces (2-3 min). Gently scrape the gel polish off nails using the cuticle pusher. Remove any small residues using the sharper side of the pusher or the included buffer. NOTE: May feel slight tingling. If product comes in contact with skin, gently wipe off with cold water. PRO TIP: If gel
The product description is generated based on data from online stores. Before purchasing be sure to verify all information directly with the seller.

Epilator for Beginners: How to Make the Process Less PainfulWhat kind of epilator should it be to make hair removal less painful and unpleasant?
Women's Trimmers: Why They Matter and How They Differ from Men'sUnderstanding the difference between a trimmer and a razor, what it's used for and whether women can use men's models
How to place an order?How to add store?
Remember that the online store is responsible for the accuracy of information regarding price, warranty, and delivery!
You may be interested in