Dashing Diva Nail Art Glaze Starter Kit - Pale Blush - 32ct
 |
Buy Dashing Diva Nail Art Glaze Starter Kit - Pale Blush - 32ct
When you make a purchase through links on our site, we may receive a affiliate commission.
Dashing Diva Nail Art Glaze Starter Kit - Pale Blush - 32ct | $12.99 | ||||
A little blush is just enough! Semi-cured powder pink strips with a glossy, high-shine finish. A complete starter kit to achieve the pro-finish and sculpted effect of a salon gel manicure at home with ease. GLAZE innovation is a semi-cured gel strip delivering salon results: molded shape, mega volume, and mirror shine that's gel strong for up to 14 days. INCLUDES: 32 semi-cured gel nail strips (in 12 sizes), 2 prep pads, 1 LED Mini Lamp, 1 nail file, 1 manicure stick. How To Use: STEP 1: PREP •Wash hands with soap and water. • Shape nails and push back cuticles. • Use enclosed Prep Pad to ensure nails are clear from oils and residue. • Make sure your nails are completely dry before application. Pro Tip: Because GLAZE is an all-in-one product, no additional Base Coat or Nail Strengthener is needed. STEP 2: SELECT SIZE • Hold the sheet over nail to find your size. If you are in-between sizes, always size down. STEP 3: REMOVE FILM • Remove the protective film. STEP 4: APPLY • Gently lift strip from sheet starting from edge. • Place strip over the center of your nail, starting at cuticle line and pressing outward. For optimal adhesion, the strip should be placed above the cuticle line avoiding skin or cuticles. STEP 5: PRESS • Press down firmly from+C2:D3 center and side to side. STEP 6: TRIM • Trim strip flush to your nails using nail scissors or nail clippers. STEP 7: CURE • Cure under LED light for 45 seconds. STEP 8: FILE • Position the nail file horizontally along the contour of your nail. With one sweeping motion, file firmly across your free edge. Make sure GLAZE does not exceed beyond your nail length. Any overhang will cause chipping or cracking. Pro Tip: Using the wooden manicure stick gently press down on Glaze strip thoroughly to seal all edges before curing. This will prevent hair and debris from catching onto the nail strip perimeter. How to Remove: STEP 1: REMOVE • Apply cuticle oil on nail bed. STEP 2: LIFT • Use manicure stick to gently and slowly lift nail strip from corner of the cuticle area. • Gradually push the strip off your nail. CAUTION: Do not peel off with force or in one quick motion.
The product description is generated based on data from online stores. Before purchasing be sure to verify all information directly with the seller.
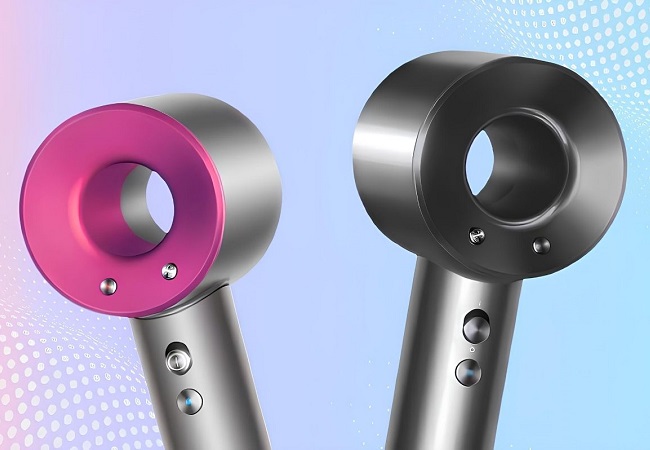
Original or Fake: How to Verify Dyson Hair Dryers and StylersUnderstanding how to distinguish original Dyson products from counterfeits by appearance, packaging, and serial number.

What to give a girl?Note to guys: variable gift ideas for girlfriends
How to place an order?How to add store?
Remember that the online store is responsible for the accuracy of information regarding price, warranty, and delivery!
You may be interested in


